Testbeds
Stylix provides a suite of virtual machines which can be used to test and preview themes without installing the target to your live system.
These can be particularly helpful for:
- Working on targets before the login screen, since you can avoid closing your editor to see the result.
- Developing for a different desktop environment than the one you normally use.
- Reducing the risk of breaking your system while reviewing pull requests.
Testbeds are also built by GitHub Actions for every pull request. This is less beneficial compared to running them yourself, since it cannot visually check the theme, however it can catch build failures which may have been missed otherwise.
Creation
Testbeds are defined at /modules/«module»/testbeds/«testbed».nix and are are
automatically loaded as a NixOS module with options such as stylix.image
already defined. The testbed should include any options necessary to install the
target and any supporting software - for example, a window manager.
Special Options
Testbeds are given a special set of options which configure for common testbed uses.
config.stylix.testbedenabledefaults to true; allows for conditionally disabling a testbeduiand all of its suboptions are optional. Setting any will enable a graphical environment.graphicalEnvironmentdefaults to “gnome”; takes the string name of the graphical environment to be used for the testbed. Seestylix/testbed/graphicalEnvironmentsfor a complete list of available graphical environments.commandtakes a command to be run once the graphical environment has loadedtexttakes the string of the commanduseTerminaltakes a boolean which determines whether the command should be run in a terminal
applicationtakes a desktop application to be run once the graphical environment has loaded. If one of its suboptions is set, all must be.nametakes the string name of the desktop applicationpackagetakes the package which provides the.desktopfile
Home Manager
If the target can only be used through Home Manager, you can write a Home Manager module within the NixOS module using the following format:
{ lib, ... }:
{
  home-manager.sharedModules = lib.singleton {
    # Write Home Manager options here
  };
}
Using home-manager.sharedModules is preferred over home-manager.users.guest
since it allows us to easily change the username or add additional users in the
future.
Once the module is complete, use git add to track the file, then the new
packages will be available to use.
Usage
You can list the available testbeds by running this command from anywhere within the repository:
user@host:~$ nix flake show
github:nix-community/stylix
└───packages
    └───x86_64-linux
        ├───doc: package 'stylix-book'
        ├───palette-generator: package 'palette-generator'
        ├───"testbed:gnome:cursorless": package 'testbed-gnome-cursorless'
        ├───"testbed:gnome:dark": package 'testbed-gnome-dark'
        ├───"testbed:gnome:imageless": package 'testbed-gnome-imageless'
        ├───"testbed:gnome:light": package 'testbed-gnome-light'
        ├───"testbed:gnome:schemeless": package 'testbed-gnome-schemeless'
        ├───"testbed:kde:cursorless": package 'testbed-kde-cursorless'
        ├───"testbed:kde:dark": package 'testbed-kde-dark'
        ├───"testbed:kde:imageless": package 'testbed-kde-imageless'
        ├───"testbed:kde:light": package 'testbed-kde-light'
        └───"testbed:kde:schemeless": package 'testbed-kde-schemeless'
(This has been edited down to only the relevant parts.)
To start a testbed, each of which is named in the format
testbed:«module»:«testcase», run the following command:
user@host:~$ nix run .#testbed:«module»:«testcase»
Any package with a name not fitting the given format is not a testbed, and may behave differently with this command, or not work at all.
Once the virtual machine starts, a window should open, similar to the screenshot below. The contents of the virtual machine will vary depending on the target you selected earlier.
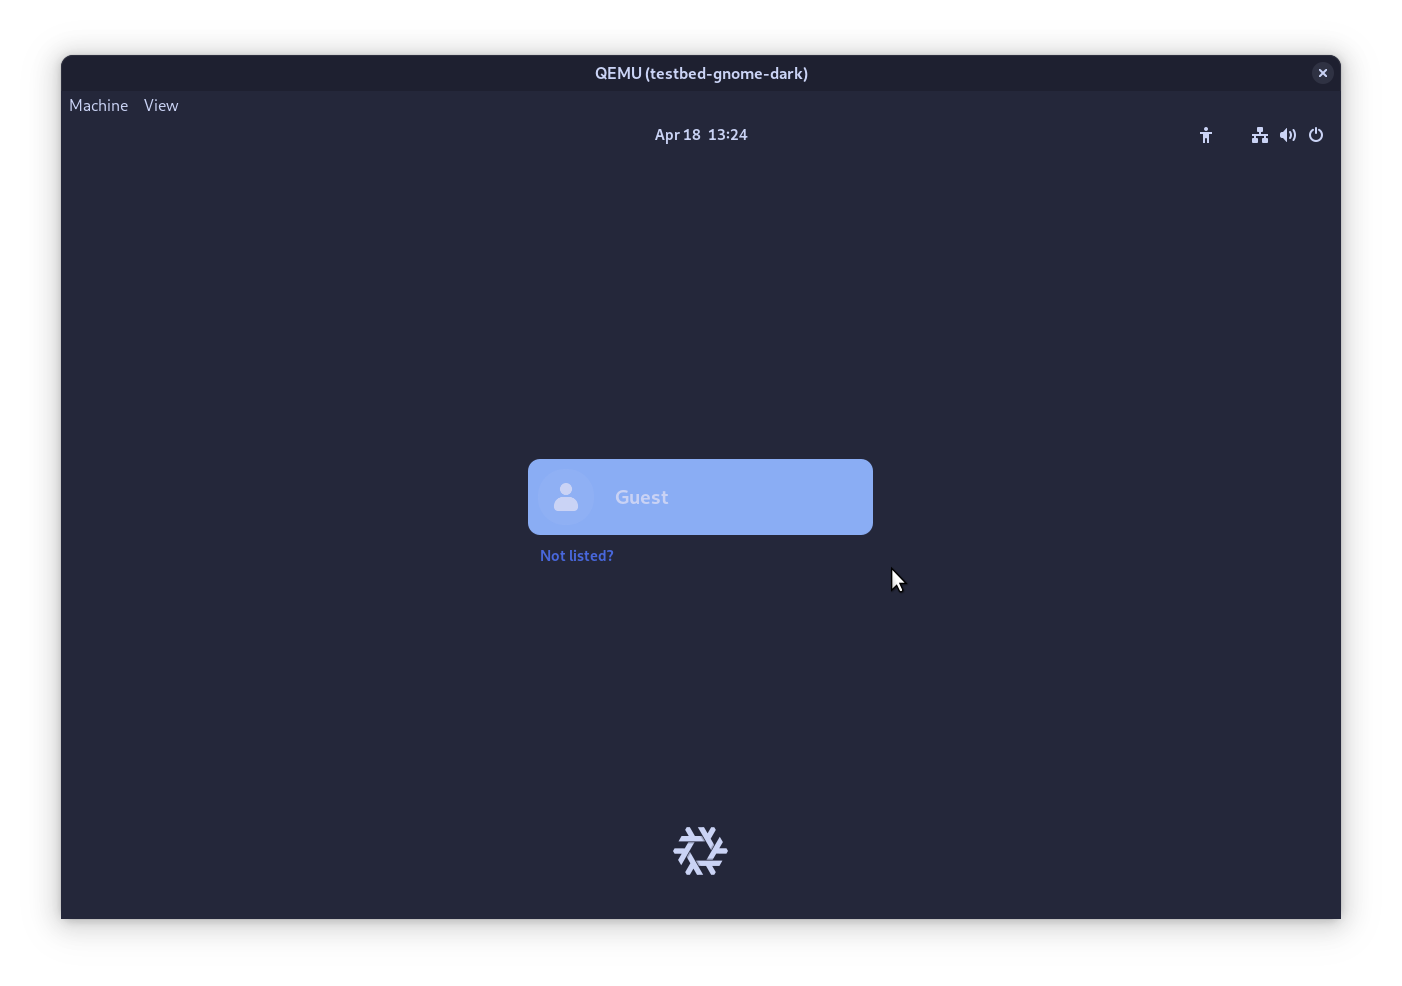
If the testbed includes a login screen, the guest user should log in automatically when selected. Depending on the software used, you may still be presented with a password prompt - in which case you can leave it blank and proceed by pressing enter.